
 In Part 1 of this short series, we made up some clarity on what is the role of the compressor and some of its parameters.
Today I want to give you the missing points to be able to make use of compression with confidence. Read on…
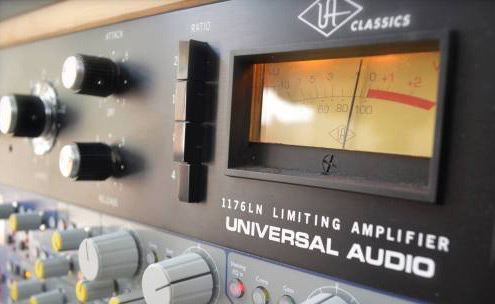
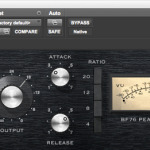
Attack Time
Question: “How fast will the compressor react to the incoming signal that just crossed the threshold?”
The “Attack Time” is the time the compressor will take to pass from its idle state (“I’m doing nothing…”) to its active stage (“Yahoo! Time to compress now!”).
This transition is not instantaneous but it’s a slope. The shorter the attack time, the steep will be the slope and vice versa.
- Attack Time set to a shorter value: it will start to compress the incoming signal faster.
- Attack Time set to a longer value: it will let some source signal pass through unaffected and then start its job.
Release Time
Question: “How long will the compressor take to get back to its idle state, once the signal has come back below the threshold?”
The level is above the threshold, our compressor is compressing, right?
Then the signal goes below the threshold and the compressor should stop its work and get back to sleep… But how long should it take to do so?
That’s the “Release Time”. As for the “Attack Time”, the “Release Time” creates a slope as well.
- Release Time set to a longer value: it will take some time to pass from active to idle.
The signal will be kept compressed for whole release time. - Release Time set to a shorter value: it will react quickly and the original uncompressed signal will be “restored” faster.
Make Up Gain
Common compressors (also called “downward compressors”) will reduce the level of louder parts but will not raise up the level of softer sections!
All we’re getting from the compressor is an output signal that is lower in volume if compared to the input.
Since we compressed the track, there’ll be much less differences between loud and soft moments (less dynamic range), therefore we freed up some space to lift it a bit! We can add that volume with the “Make Up Gain”.
Let’s say the louder sections of our track have been compressed (thus lowered in volume) by 5dBs…
Now we can easily compensate by raising the overall level by roughly the same amount (about 4-5dBs) using the “Make Up Gain” knob, trying to match the original signal.
Checkpoint
To recap, with compression we turned the loudest peak down and then raised everything up to compensate. Doing so, what’s called the “average (RMS) level” of our signal is now higher than how it was before compression. The final track will therefore take up less (dynamic) space, be more consistent and perceived as louder.
That’s the goal of compression after all and that’s why compressors are usually associated with “more volume” as well.
Take your time and experiment with the different settings for both attack and release; they can have a huge impact on the compressed sound. In the end, don’t forget to level match the output with the input using the make up gain so you can do a fair comparison between original and compressed signals.
In the last part of this series, I’ll give you some guidelines to approach the use of compression.
To be continued in Part 3…


So the goal is to use the make up gain to return the levels back where they were.
There’s a temptation to use the compressor to increase the volume…setting the make up gain higher than the original signal. Why is that bad/undesireable?
Thank you for your time and your writing.
Hi! The reason why is generally a good idea to level-match is because your brain tends to think that louder is better. This thing may cheat you, making you think you made improvements to your mix with that compressor, while in fact you just made it louder. By level matching, you’re forced to hear the changes in both senses – good and bad – and hear if you really made an improvement to your sound. Furthermore,it helps keeping levels under control and having a correct gain stage throughout the entire mixing session, ’cause you’re not adding level each time you apply some processing – no matter if it’s compression, EQ, saturation or whatever. Hope that helps. Thanks for sticking around!